Posts

Showing posts from 2015

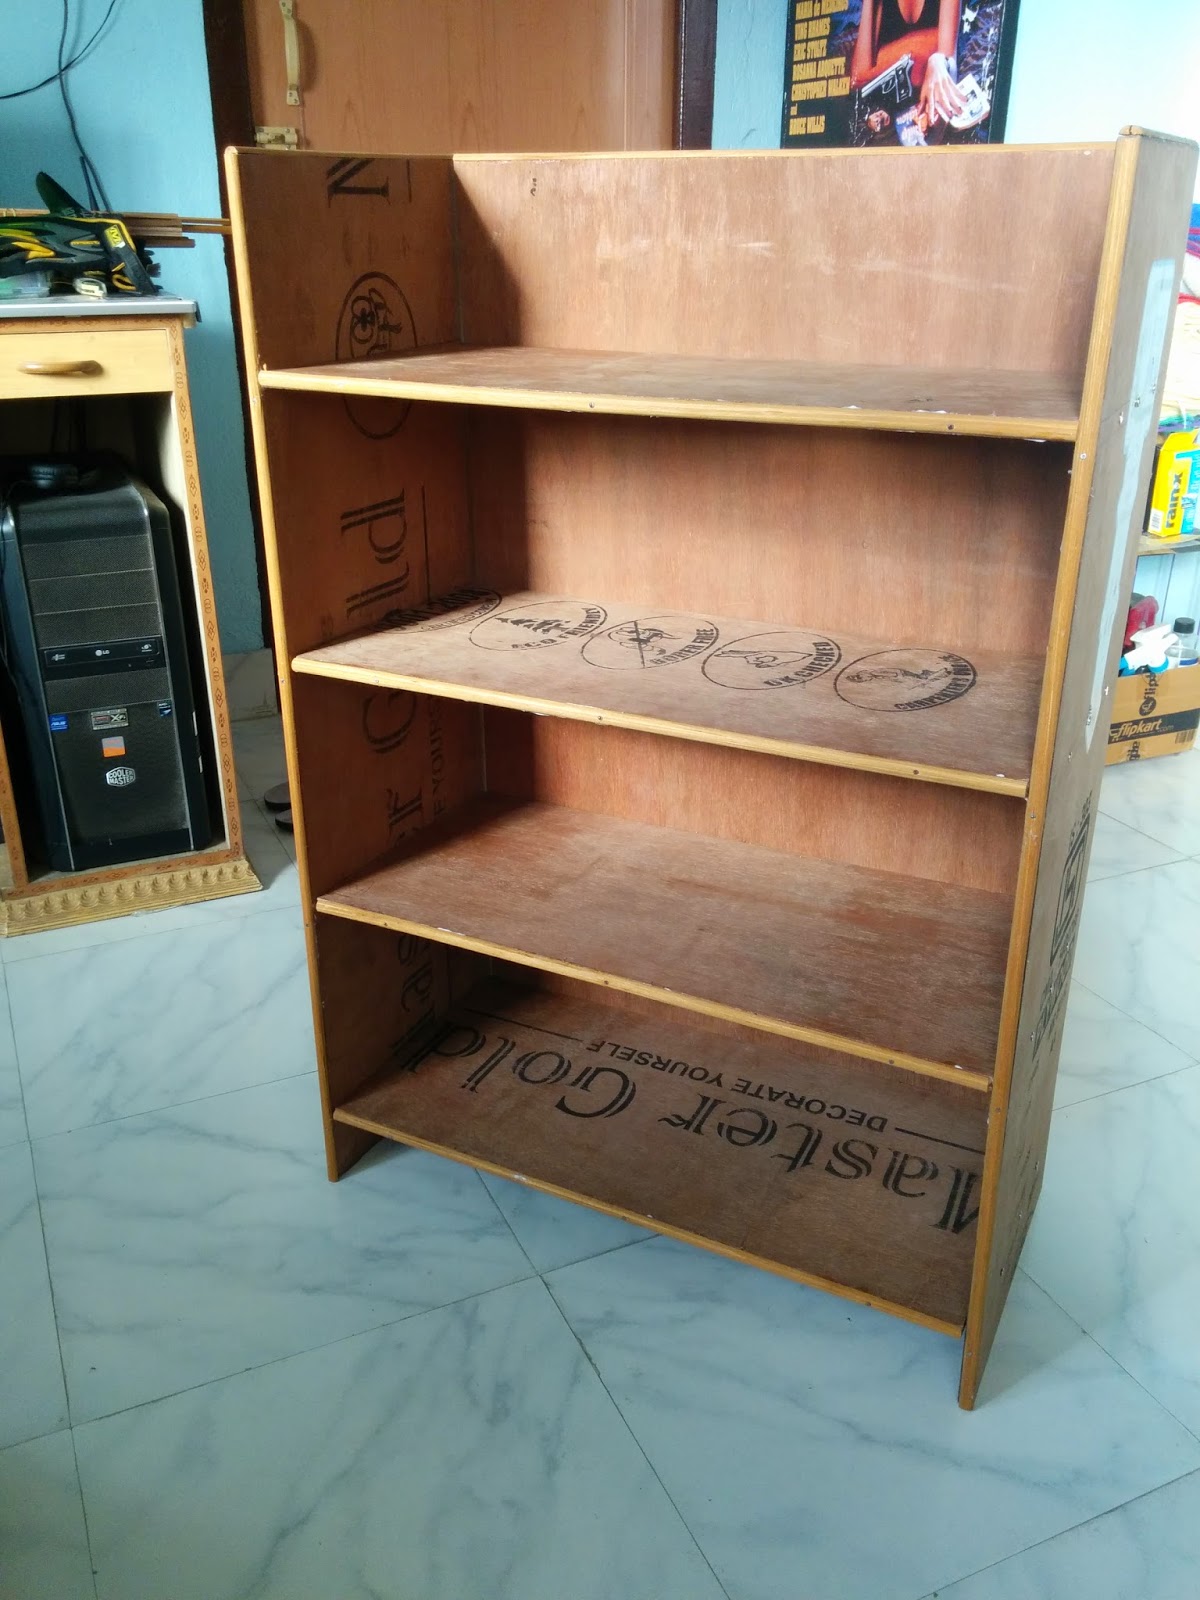
Quick shop rack with dado joints and french cleats

Image
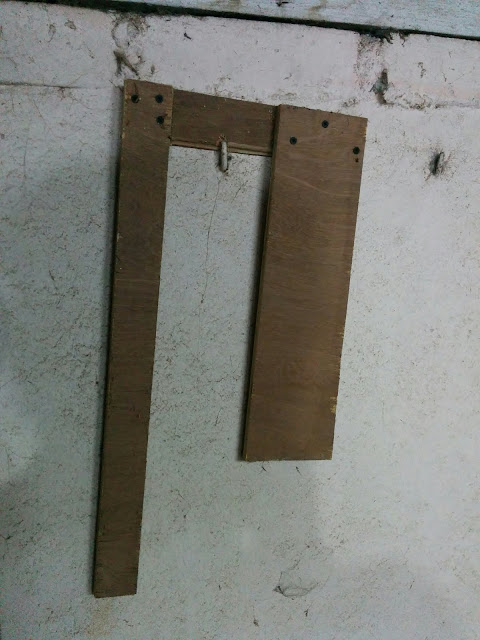
Organize everything - Now !! Over time, I had gathered quite a few tools, paints and other consumables / durables that were either stacked around the workbench or on the same. So thought of building a hanging shop rack from 12mm ply to organize the sundry items and test the following things: The Freud undersized plywood router bits How well the said bits perform on the plunge router How well french cleats can hold up weight As the project was done for the shop and done in a speedy manner, I do not have many WIP photographs.  Cut the sides and the racks from a sheet of 12mm plywood first. Then with a tape measure and speed square, marked the spots where the shelves were to be placed.  Made a quick router jig from scrap plywood to do the dados - then set the plunge depth (it is important to measure the length of the shelves before setting the plunge depth) and made short work of the dados.  This is the quick dado jig for the plunge router: The Freud bit wa

Wall hanging racks for the dining hall

Image
In a bid to clean up the mess Our dining hall is pretty big with a concrete shelf built on the east side with 2 windows. Now wherever there is a space, things tend to get put on it and end result is clutter. This shelf was no exception and was choc a bloc with small kitchen appliances (toaster, mixer, coffee maker et al), plus food items like biscuit  & fruits. But the real mess was made by the cats (no less than 5 in the house) who tend to jostle for space to bask in the sunlight, which is aplenty near the easterly window. There was something to be done, and in the end the cats won ! I decided to build 2 hanging racks to store the sundry items, and free up the window space for them. The racks needed to be of different sizes as one would end over a switchboard below which the microwave oven would be kept. The other would span the entire length of the window and sit beside the same. Had some 12 mm plywood, so wasted no time in cutting them to size using my make

Kitchen shelf built for the family..

Image
The least I could do for my grandmother My grandmother (my mother's mom) has always lived by herself after grandfather passed away a few years back. Her erstwhile apartment was in the same municipality as our house, but it took around 15 mins commute via cycle / rickshaw. Recently she shifted into a new apartment which is just 5 mins from our house on foot. While shifting, mom noticed that the kitchen spice/groceries rack that grandma uses is literally falling apart - it was bought when my mom was born ! Yes - that cabinet was more than 50 years old !! Sensing that the piece of furniture is well past it's expiry date, my mom asked me to build a newer bigger one for my grandmother. I went ahead and took some measurements of the corner the rack was planned to be placed in, and went to work. The carcass is made with Sal wood (utilizing half lap joints) held together with glue. Further strengthened with corner braces nailed+glued together. Clamped together while

An exercise in nail/screw-less joinery - The car care accessories rack

Image
At least this would be in a room and not in a public place! Besides woodworking, another hobby of mine is learning about different car care techniques/products, and applying the same on my car. In the last few years, I had accumulated quite a collection of washes/waxes/cleaners and other items which were lying around. Lately, I was using a wire rack I picked up for 100 rupees to keep them organized. The quality of the wire rack was horrible, and it bent and swayed whenever I tried to pick up something from it. So I thought of a more permanent solution which also should not be an eyesore. Picked up some 19 mm plywood and planned for a rack to hold few of the large items. I already had a steel rack for the smaller items. After some deliberation, thought of going for a all plywood rack, with flexible shelving system.The rack was planned to be about 48"H x 24"W x 12"D - sides, back and shelves were cut accordingly. Used my drill with a drill stop for making shel

The hideous first build - Rickety Shoerack

Image
Kill it, kill it with fire! There were at least 7-8 pairs of shoes on the staircase which leads to the terrace at our home, and my mom had complained for eternity that something needed to be done about that. One fine morning, I decided that instead of buying a nice shoe rack (which, in hindsight, probably would have been cheaper AND better looking), I am gonna build one ! So in spite of vociferous appeals by my parents not to do so, I went out and bought a 5x4 piece of 1/2 inch (12 mm) plywood and prepared a rough plan to build an open shoe rack with 4 racks. Without much knowledge of woodworking, and armed with a saw, some screws and a drill/driver, I went to work. The measurements were off, the racks different in size, the screws driven in incorrectly without pilot holes, and it wasn't probably a good idea to screw the 3 sides (2 sides + 1 back) to the shelves , instead of building a carcass and then putting in the shelves (which I learnt the hard way later).

First post

You dare call it carpentry.. Hi all - finally after much procrastination I decided to put together a blog dedicated to my woodworking hobby. I hesitate to call my hobby carpentry for that it might offend serious carpenters and cabinet makers, and merely prefer to call it woodworking - hacking and hewing at cheap wood and commercial grade plywood with cheap tools in untrained hands! I'll try to capture in this blog the different experiences I had after I took to this hobby in the last year, and how it has captured most of my attention (and free time!) since, all the while amusing the readers with some hideous looking DIY solutions. Prepare for a bumpy ride ahead !