An exercise in nail/screw-less joinery - The car care accessories rack
At least this would be in a room and not in a public place!
Besides woodworking, another hobby of mine is learning about different car care techniques/products, and applying the same on my car.In the last few years, I had accumulated quite a collection of washes/waxes/cleaners and other items which were lying around. Lately, I was using a wire rack I picked up for 100 rupees to keep them organized.
The quality of the wire rack was horrible, and it bent and swayed whenever I tried to pick up something from it.
So I thought of a more permanent solution which also should not be an eyesore.
Picked up some 19 mm plywood and planned for a rack to hold few of the large items. I already had a steel rack for the smaller items.
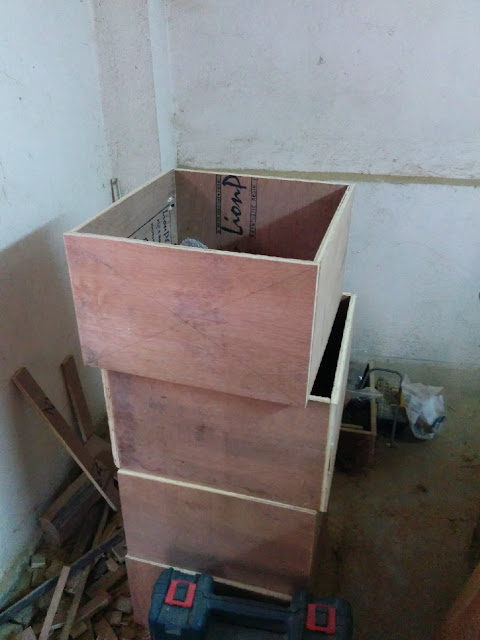
After some deliberation, thought of going for a all plywood rack, with flexible shelving system.The rack was planned to be about 48"H x 24"W x 12"D - sides, back and shelves were cut accordingly.
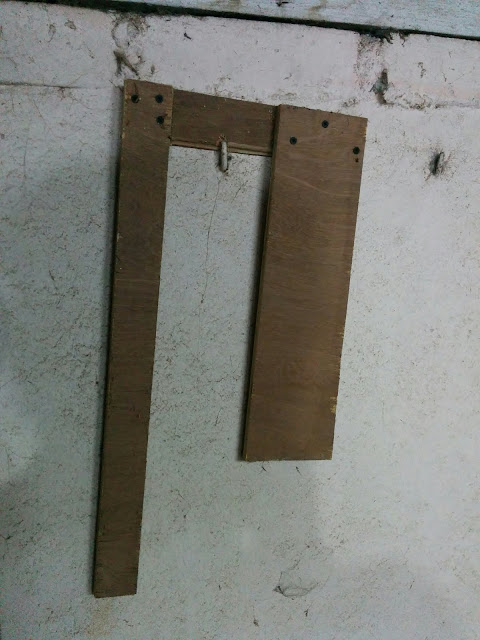
Used my drill with a drill stop for making shelf pin holes - 2 in each side and back, each 6 inches from the one above. This way I could get shelves at multiples of 6 inches.

Then I thought of avoiding nails/screws for this build altogether ,and opted for a dowel joining system. I lined up the back and sides (used my corner clamps), and drilled 5 mm holes at regular intervals. Bought a couple of packs wood chips which are normally used as rawl plugs, and used a sharp knife to round them off and make shelf pins/dowels.
Dipped each dowel in fevicol, and hammered them in. Later got rid of the protruding part using a chisel.

Used shelving pins to hold the racks - shelving pins are not glued and can be taken out using a set of pliers.
The top is rabbeted on 3 sides and glued to sides+back. Later I added a molded wooden strip all around the front fascia for a presentable front view.
The end result is a surprisingly stable rack which is adjustable as well as built to suit the corner it was intended for:


Update - As suggested by Indranil in the comments section below, I added a 12mm plywood at the bottom, and painted the whole thing in timber brown (Asian paints satin enamel). The result is as follows:


Sid, a strip of plywood at the bottom and as a backsplash on the top would make your piece look much better and make it more stable. Also you would be surprisied how good your simple project would look with a coat of paint. Give it a try. best wishes
ReplyDeleteSure thing sir - would try that out.
Delete