Bedroom Dresser with drawers
Clothing organization 101 - Bedroom Dresser
During my twenties, I was an impulsive shopper for clothes, and by that process, have gathered a huge cache of t shirts/polos/trousers/jeans etc which took up most if not all the space in my closet.
It was hard for me to organize my hosiery, socks and other sundry items in the same closet.
Now the closet that I use is a old wooden one that was passed down to me by my father, who in turn got his from his parents. It is made of solid Burma teak and is irreplaceable at this moment.
So I decided to build a dresser inspired from one of Mathias Wandel's numerous dresser designs (with significant deviations and mistakes along the way), which shall be placed beside my wife's larger closet in our bedroom.
Used sal (shorea robusta) wood and ply (6 mm for sides, 12 mm for drawers, 12 mm for top).
Started off by building the drawer boxes first (which was the first of my many mistakes, as I should have built the drawers after I built the carcass. I had to re-size the drawers later). The drawers are held by 4 pocket hole screws on each side + glue, and the bottom is held by 3/4 inch headless nails + glue.

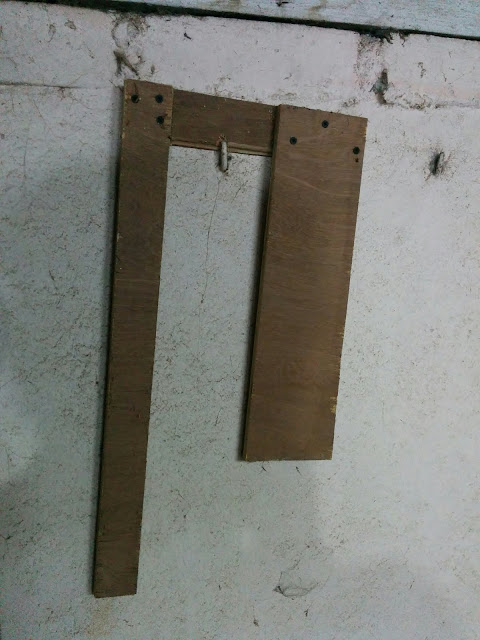
The face frame / back frame / cross members are held in place by half lap joinery (glue only) & pocket hole joinery (glue + screw)


Here is the entire carcass coming together. The drawers slide on the internal cross members.

The drawer boxes had to be re-sized on the makeshift 'table saw'

Finally the dry fitting of the drawer boxes were good

The side (inner and outer) and the back are 6 mm plywood. The inner sides shown in this picture keep the drawers from wobbling, while the outer sides were added later to provide uniformity and hide the carcass legs.

Dry fitting with drawer false faces. The false faces are glued + screwed from inside the drawers.

Dry fitting with the top attached (glue + 3/4 inch headless nails) and the drawer knobs attached (another mistake - the drawers are heavy and I had to replace the cheap knobs to heavy duty ones. Should have used pull handles)

Then I put in wood beading around the top. Later stained this wood beading to walnut brown color.

Added wood beading to the drawer false fronts. Later painted the beading ivory white and the false front brown.

Hand painting the drawer beading. Two coats of primer are already added. The drawer interiors are only primed and not painted.

With the top and side laminates added, I primed the wooden part of the interiors. The laminates were rough cut by scoring and breaking them, and were glued using Fevicol SR998. The edges were trimmed using my router (I did not have the trim router at that time) and a bastard file.

Finally with the drawer faces were painted and the top wooden beading stained (another mistake - should have had steady hands and some patience while painting near the beading)

Completed project

Placed in my bedroom

Learnt a lot during this project as this is my biggest / most complex project till date, and hopefully should be able to apply the learning towards my future projects.
Comments and criticism welcome !
Inspired by Mathias Wandel's dresser project here http://woodgears.ca/dresser/index.html

Fantastic work Sid!
ReplyDeleteBK
good build sid, Keep it up & good luck.
ReplyDeleteThank you !
DeleteGreat work!
ReplyDeleteThanks Vinay !
Deletesuperb
ReplyDelete