Yet another shoe rack
....that started as something else
I had identified a vacant space in our dining room that could have accommodated a crockery / china cabinet, and had planned to build one.
The cabinet was to be built from 19 mm plywood, with dado shelves and sliding glass shutters.
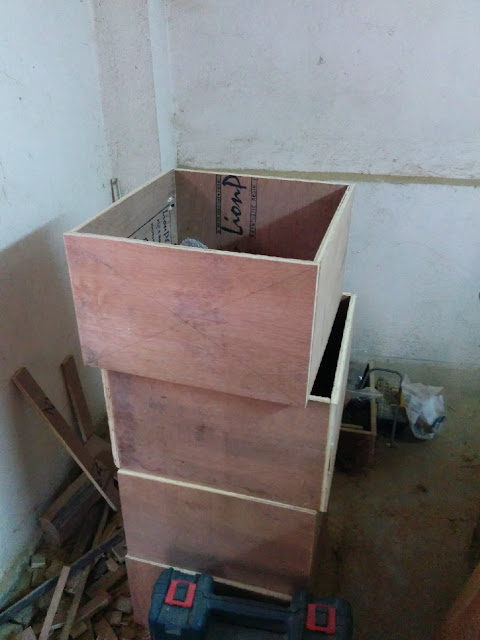
Ripped the sides, top and shelves according to plan on my table saw

Used my bigger B&D router mounted in the table saw gap which is fitted with freud undersized plywood bit to put in the 19mm dados on the two sides

and started mounting the top / bottom with pocket hole screws + glue.

However, at this point of time, my mother objected to adding another china cabinet in the dining room, and suggested that as the store bought shoe rack (made from particle board) has warped beyond usability, maybe I can transform this build into a big shoe rack with room for future storage.
Thus I abandoned the crockery cabinet plan, and modified my build to plan a shoe rack with adjustable shelves and shaker style doors.
Filled up the dado slots with thin strips of 19 mm plywood and glued them in + sanded to sit flush with the inner surface.
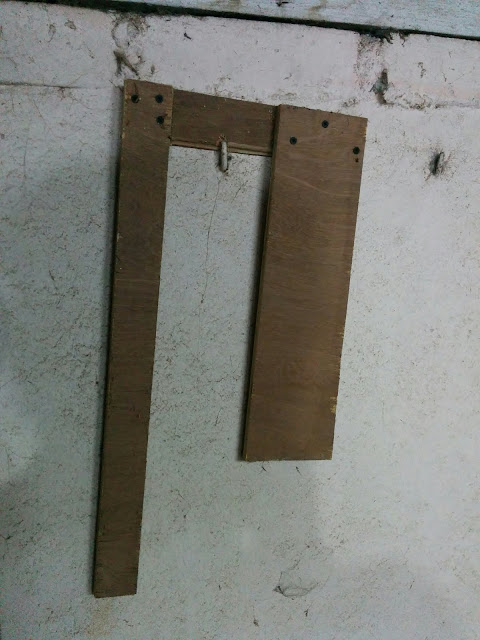
Cut the rails and stiles for the doors from 19 mm plywood. The crosscut sled came in handy.


Adjusted the fence of the table saw to put in grooves for the 6 mm plywood panels. Tried to keep the grooves a little loose for easy fit.

Put the rails and stiles together with pocket hole screws

Then slid in the 2 separate pieces of 6 mm plywood panels

With the last stile screwed in to hold the panels in place. The panels are not glued to the grooves.

Mocked up some pieces of laminates to be used on the door.

The inside of the cabinet, insides of the doors, and bottoms of the shelves got two coats of primer with sanding in between.


Painted the insides of the doors with Royal Ivory shade, while the inside of the cabinet and bottom of the shelves were painted with Teak Brown shade.


Laminated the front of the doors, the top of the shelves and top + sides of the cabinet


Cut store bought 1/2 inch wood beading to size, and stained + PU coated them . Stained + PU coated the handles at the same time.

Beading applied to front of the shelves

Put in small Aluminium L brackets to act as adjustable shelf holders

Finally put in cabinet hinges & magnetic catchers, and attached the handles to the doors before placing it in the inner balcony to house the shoes.


Doesn't look like an amateur wood work. You are so good at it.
ReplyDeletePipe Rack System Supplies Philippines
Your work is very thorough. I admire your patience to create a cabinet with so many details from simple ply and laminate. I usually don't have that motivation because of all the finishing needed :) I would love to see what you can do with 3/4" and 1/2" rubber wood board or something like beech ply to reduce the work needed for finishing and produce a more contemporary looking cabinet.
ReplyDelete