A condiments caddy for the dining room or...
... a convenience caddy for the bedroom
The itch started when I noticed the awkwardly placed and unwieldy plastic table that holds the condiments in a corner of our dining room.
It was eating up a lot of space which was not fully utilized, and the lower rack is exclusively used by the cats as a bunk bed.
Planned to build something with a smaller footprint and on casters, so that the usability and mobility factor increases.
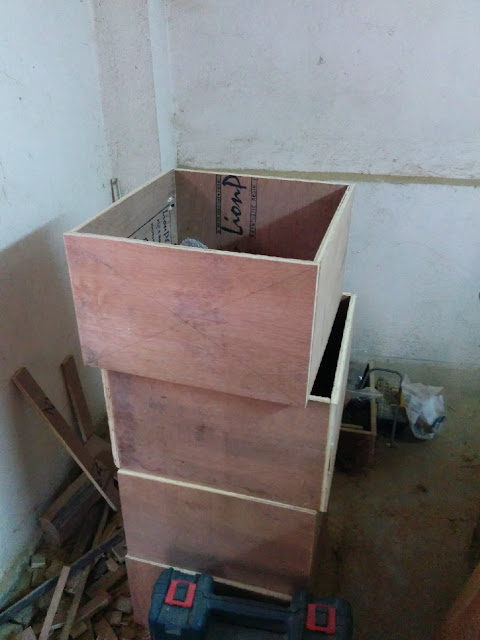
Once I got my Metabo table saw, I dismantled the home built saw/router table and reclaimed some 19mm plywood and Sal wood battens from it.
I determined the above would be enough to complete this project.
Got the

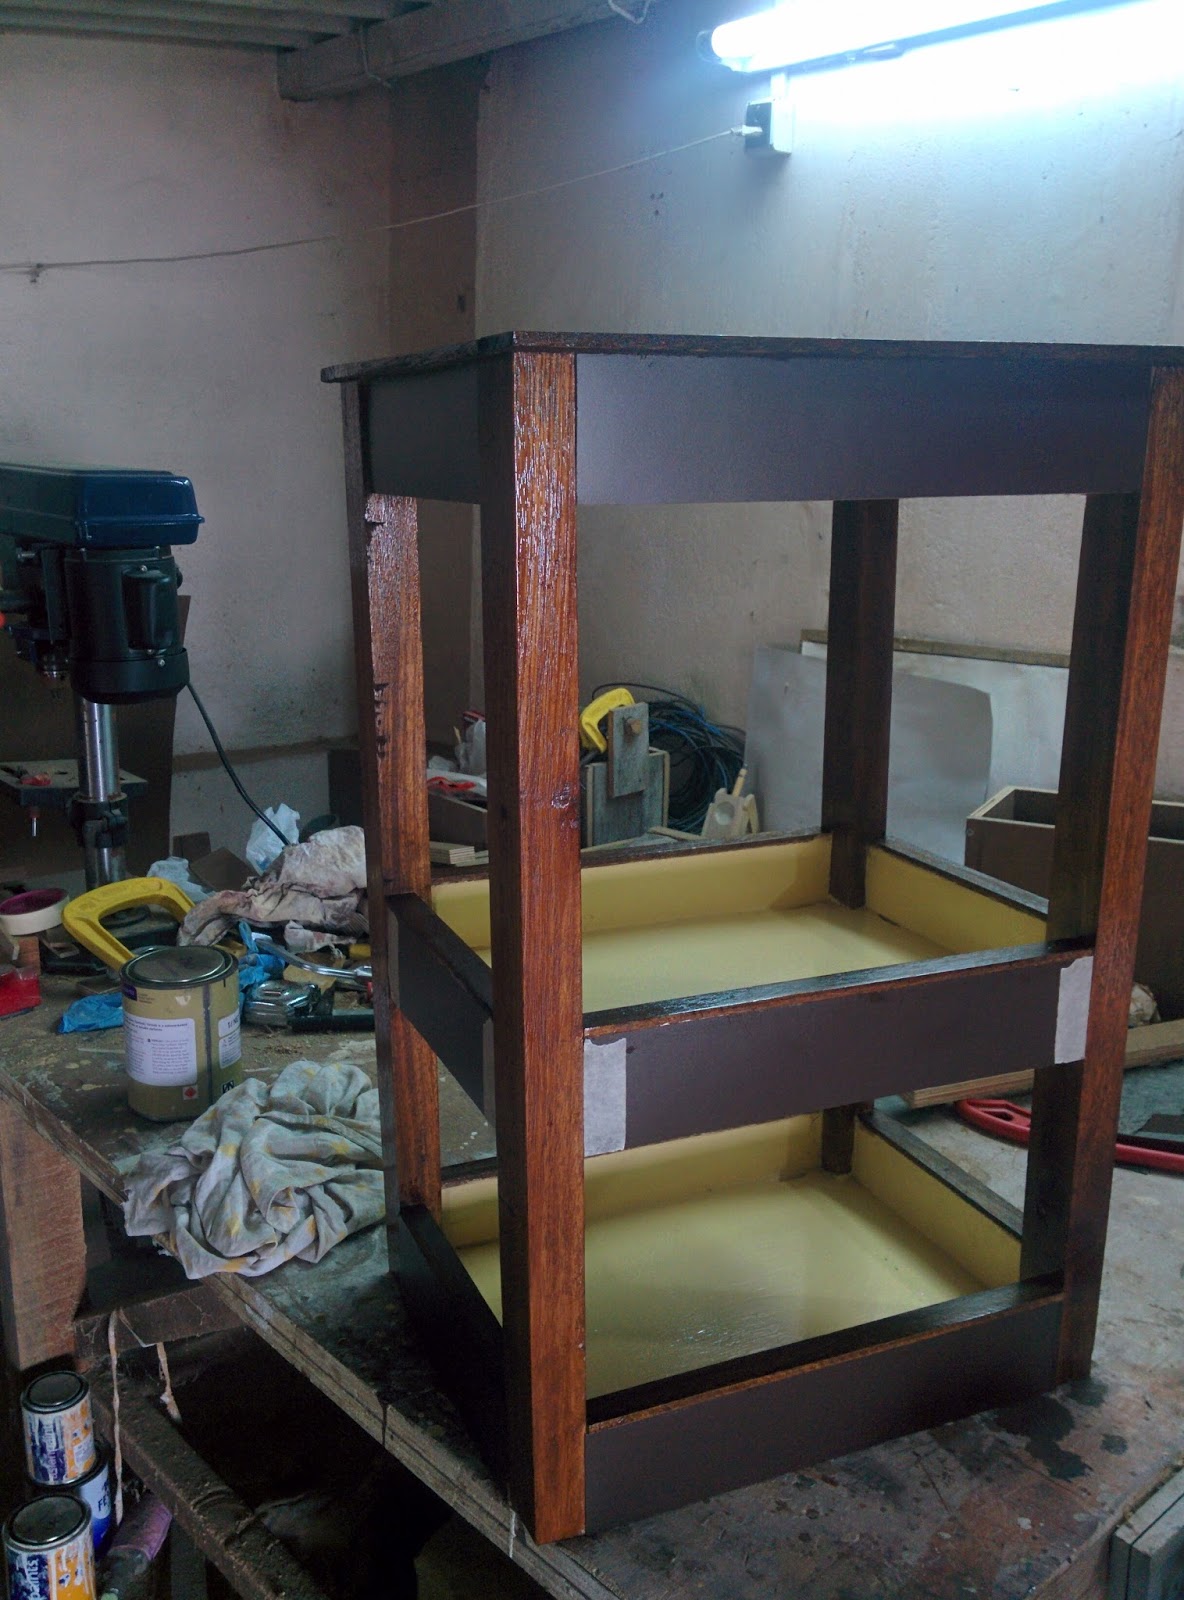
Cut the corners of the bottom and middle racks to accommodate the posts.

Put pocket holes, 2 in each corner.

And then glued and screwed the posts.

Posts were looking a bit short on support with only the lower rack put in.

But squared up once I put in the middle rack

and the upper rack

Glued in the sides from 19mm ply and put in store bought strips of hardwood on the bottom and the middle racks

Painted all the racks (only the plywood parts - hardwood parts are masked) with 2 layers of wood primer and then again 2 layers of royal ivory colored gloss enamel.

Once the paint dried, pulled out the masking and stained the hardwood parts with Walnut colored stain

Ripped Sal wood battens and put in strips for the top shelf

and stained them too - total 2 layers of stain on all the hardwood parts

Started laminating the outer plywood sides

And done laminating

Put in a coat of varnish on the stained parts
Then finally put in casters

One final coat of varnish

Close up of the Sal wood post after stain & varnish

Now here's the turning point - once I displayed the finished product to my parents, they refused to put it in the dining room, and claimed it as a convenience caddy for their bedroom ! I had no choice but to oblige.
Here's the caddy being used in my parent's bedroom, while the old plastic table still continues to remain in the dining room with the cats making the most use of the same.


Fantastic job. Excellent finish!
ReplyDeletethanks !
DeleteGood job. Your staining could have been better:) How do you find the Metabno table saw. I have heard it is very good. Is it accurate and easy to align? I have a Bosch saw with which I am quite staisfied but have often wondered how the Metabo one would compare.
ReplyDeleteThanks for the comment - I think I should get better at sanding which would in turn better the quality of the staining. Also, I should devote a little more time to staining.
DeleteThe metabo saw is quite good at the price point - the rip fence is a bit jittery, but once squared carefully does a good job. Supplied blade is good enough for rip and cross cuts. I have built a miter sled, a cross cut sled and a jointer sled for the saw - shall put in a blog for with details.
Hi
ReplyDeleteI have seen your work pop up a few times now, it is nice to see you having a go at making something with your hands, I started just like you 50 years ago but no power tools, your parents are obviously proud of what you do.
Have a look at the Canadian woodworkers magazine web site for inspiration.
Or my website perceptionpanel@blogspot.com
Thanks for the kind words sir. I am surfing through your blog as I am writing this comment.
Delete