Posts

Showing posts from 2016

Making a broken hydraulic and revolving chair reusable....

Image
... well - by dropping the hydraulic and revolving features ! I had a couple of chairs in my study room with hydraulic lifts (not that I needed this feature - the chairs were always set at their highest) and 5 revolving casters at the base. Both of them had their hydraulic struts at the end of their life, which means they frequently sank without notice ! Couple of weeks back in a lazy afternoon weekend, I got a little too comfortable on one of them when one of the legs gave away, and I crashed to the floor, face up, and in the process hurt my right shoulder (enough to keep me out of tennis for couple of weeks). The broken base : The chair was now unusable and dangerous , so I planned on decommissioning it and getting a new one (now I DID NOT need a new one with hydraulic lift and revolving features). But at second thoughts, other than the broken leg, and the unusable gas strut, everything else was fine with the chair. So I took it up
A condiments caddy for the dining room or...

Image
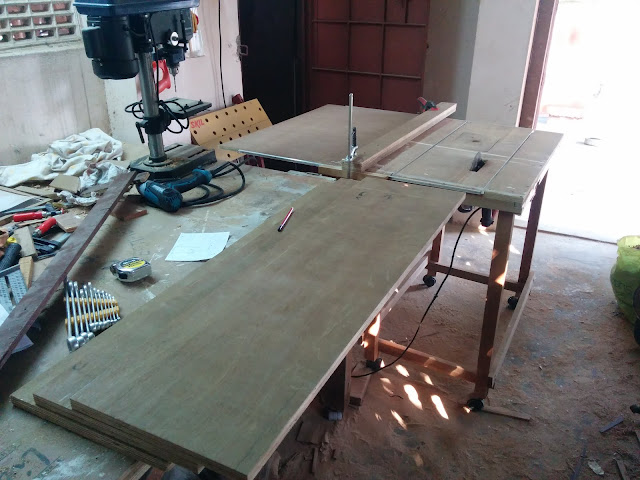
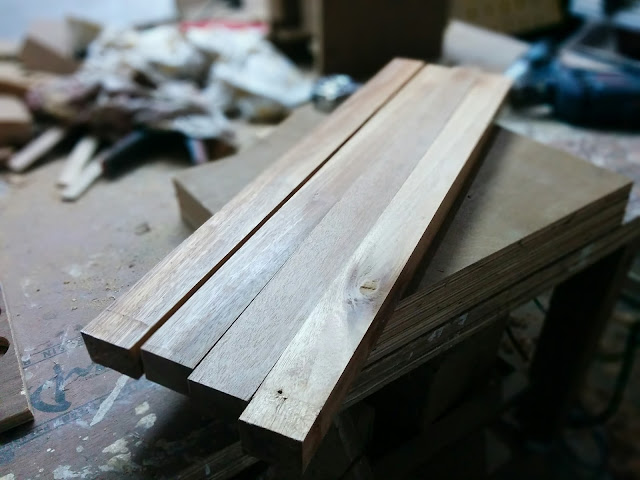
... a convenience caddy for the bedroom The itch started when I noticed the awkwardly placed and unwieldy plastic table that holds the condiments in a corner of our dining room. It was eating up a lot of space which was not fully utilized, and the lower rack is exclusively used by the cats as a bunk bed. Planned to build something with a smaller footprint and on casters, so that the usability and mobility factor increases. Once I got my Metabo table saw, I dismantled the home built saw/router table and reclaimed some 19mm plywood and Sal wood battens from it. Also I had some 12mm plywood scrap pieces from previous projects . And I have some laminates lying around too. I determined the above would be enough to complete this project. Got the 12mm  19mm plywood and the Sal battens sized up, planed and squared. Cut the corners of the bottom and middle racks to accommodate the posts. Put pocket holes, 2 in each corner. And then glued and screwed the posts.

Fraction to Glory

Image
Refinishing the writing table So once upon a time, I had this small & narrow computer table which would fit in a corner of  my bedroom. I grew out of that quite a few years back, and my dad was using it as a writing desk since then. He has this tray full of sundry items (mostly papers and old diaries) that he used to stack on the table top, along-with his watch, phone and laptop. The bottom shelf was not used much as it was open and cats could easily access anything there. The paint was faded, the laminate on top was brittle and the plywood in the lower rack was peeling in places. So I decided to give the table a makeover and extend it's usable life. Here's the table as it was being used by my dad Started by scraping off the old laminate with a chisel and done Next, got rid of the old trim The new plan is to have the table covered on 3 sides using 6 mm ply, and have a shelf in the middle. Cut a few pieces of ply to size Cut 4 holde

A shelter for homeless books

Image
My new bookcase Almost everyone in my family are avid readers, and over the years, the collection of books had outgrown the pre-planned arrangements to store them. Books were now on the TV cabinet, stacked over each other, on top of showcases and other myriad locations. Homeless dusty books do not look good, so I planned on putting in a bookcase under the hanging cabinet in my bedroom - probably the only empty place that was left ! The bookcase was to be about 4 feet wide, 3 feet tall and a foot deep, and I planned 3 shelves of 8,9 and 10 inches height for different sized books. I did not want to buy any more sheet goods, so ripped the sides and bottom of the case out of a partially used 19mm sheet The shelves and top would be ripped from a partially used 12mm sheet The bookcase would have sliding doors set in channels. Used 6mm ply for the doors, and also the same 6mm ply for the back. Put in 6 pocket holes on each of the sides - that means the top and the bott