A shelter for homeless books
My new bookcase
Almost everyone in my family are avid readers, and over the years, the collection of books had outgrown the pre-planned arrangements to store them.
Books were now on the TV cabinet, stacked over each other, on top of showcases and other myriad locations.
Homeless dusty books do not look good, so I planned on putting in a bookcase under the hanging cabinet in my bedroom - probably the only empty place that was left !
The bookcase was to be about 4 feet wide, 3 feet tall and a foot deep, and I planned 3 shelves of 8,9 and 10 inches height for different sized books.
I did not want to buy any more sheet goods, so ripped the sides and bottom of the case out of a partially used 19mm sheet


The shelves and top would be ripped from a partially used 12mm sheet

The bookcase would have sliding doors set in channels. Used 6mm ply for the doors, and also the same 6mm ply for the back.


Put in 6 pocket holes on each of the sides - that means the top and the bottom are held together with glue and 12 pocket hole screws

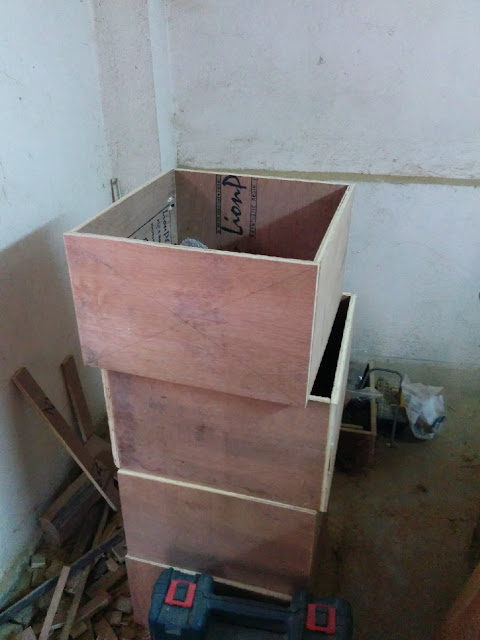
After finishing the carcass

After putting in the shelves - the shelves are held by glue and 4 pocket hole screws on each side. The pocket hols are on the bottom surface of the shelves.

With the assembly complete, I put in first coat of primer

After 2 coats of primer - notice the aluminum channels measured and miter cut on the top shelf. I used my homemade table saw, and homemade miter sledge to cut aluminum channels using the same blade. No issues whatsoever.

After giving the sliding doors a coat of primer

Miter cut the wood strips available from my local plywood store (sold in 8 ft sticks, cost Rs 3 / ft), gave them a round of sanding and used fevicol + headless nails to complete the front edge beading.

Stained the front edge beading using walnut colored stain

This is after giving the inside a coat of paint (royal ivory), laminating the outside and a few coats of stain on the front beading

Put in the aluminum channels using Fevicol SR998

Sliding doors painted...

...and slipped into the channels. After the paint dried, I drilled a hole and then used my jigsaw to remove enough material so that the store bought metal pulls fit snug.
hAlso, while fitting the doors in the channels, Had to do some careful flexing so as to not break the ply or the channels, but get the doors in the proper lanes. Put some mineral oil in the bottom channel for easy sliding.

Also screwed in 2 pieces of 3 inch wide 19mm ply as base (sorry no pictures of the same)

And that's it - hauled the bookcase down to my room and filled it up with books lying around, with some space to spare !

Well described and nicely build. Your books are safe now. I think simple butt joints are good enough for such a box type project. They are easy quick and strong too.
ReplyDelete