Refinishing dining chairs
Everything changed when the cat nation attacked
But everything changed when the cat nation attacked.
They showed us no mercy, and claimed every last one of the cushions for themselves.

Defeated, and licking our wounds, I decided to give the dining chairs a makeover - one that would eliminate the need of cushions.
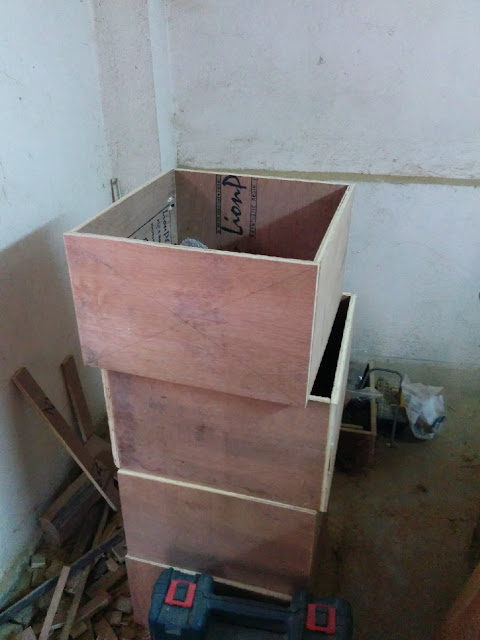
The base plywood on each chair sat on a rabbet that is around 3/4 inch deep from flush, intended to hold the cushions in place.

I planned to bring up the plywood to sit flush with the edges, and then finish with a nice laminate on top.
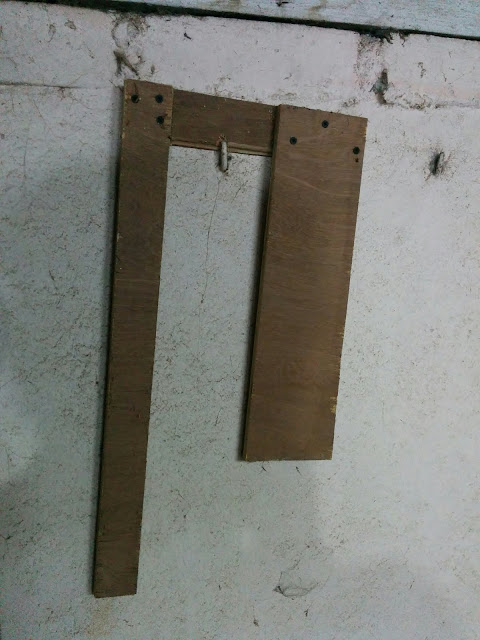
After taking measurements and some dry fitting, found out that 19mm ply strips make the base ply sit flush with the edges.
So cut some 19 mm ply from a larger piece that I had. The rabbet was 13mm wide, so the strips had to be 13mm wide too.
Also, the front side of the chair tapers to the back - with measurements as follows - front width 35 cm, sides 34 cm and back 33cm.
Armed with the measurements, I sized the strips to get a bunch of 19mm deep x 13mm wide strips.

Initially, I had decided to glue the strips to the chair.

But after I did the first chair, had a change of thought, and pulled out the strips to glue them to the back of the base ply. The rationale being that if sometime in future we would like to have cushions back (though chances are slim), we could simply change the ply base and be ready.

Laid down the laminate on my terrace and used the skilsaw fence to score and cut smaller lengths.

After the glue dried on the strips, measured and cut a slightly oversized piece of laminate.

After a light sanding to the base ply, applied Fevicol SR998 to the base ply as well as the laminate. Left for 5 minutes to dry.
Once the glue dried to touch, placed sticks on the base ply, and place the laminate on top to position it accurately.

Started removing one stick at a time and used my shopmade J roller (handle from an old paint roller + wooden dowel from an old clothes rack drilled in the center) to firmly affix the laminate to the base ply.

Finally used my trim router and bastard file to trim all the excess laminate out.
 |
The updated base fits like a glove on the chair.

Currently on weekdays, I am only able to do one chair a day (restricted by the limited number of clamps I possess), and have finished updating 5 chairs till date - should be done by Monday 18th January with all the chairs.
Then we shall wait and see what the cat nation comes up with next!

Nice work - waiting to see how it looks with a bit of polish.
ReplyDeleteThe laminate is actually matt finish - so would it be advisable to try any sort of polish on it?
DeleteVery nice project. Every cat also has a day!
Delete