The Other (Other) Rack
'rack'ing up the numbers !!
Only had to build a wooden one to keep in the room so as free up the steel one for the bathroom.
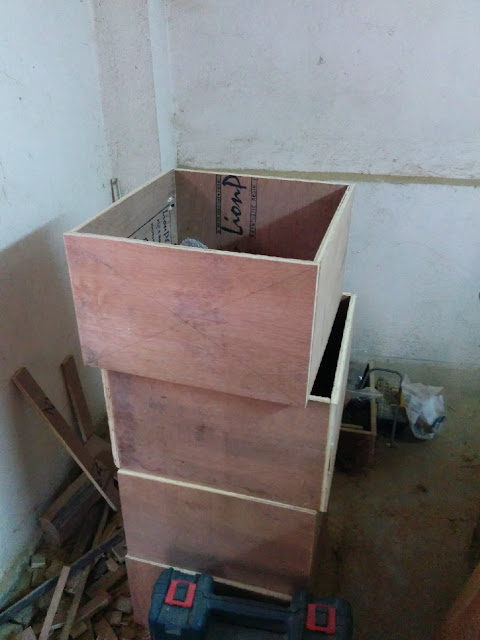
Measured the steel rack and ripped / crosscut some 19mm plywood to match the specs
Put in pocket holes on each shelf - 4 on each side
Then used pocket screws (got some original Kreg screws carried in by a friend coming in from USA) and glue to quickly build the carcass
The screw holes are hidden from view as they fall under each shelf
I had some leftover hardboard (masonite) from a project long back. Decided to utilize the same for the backing piece. Only issue was that the hardboard was in 2 pieces, so could not get a single piece to act as the back - had to put in 2 pieces. The back does not add any structural stability, but the shelves don't need any as the glue + pocket hole joinery is very stout and stable in itself.
Back view of the hardboard backer piece.
The top piece of the hardboard put into place. The hard board backer pieces are glued + nailed (1/2 inch headless pin nails) into place
Used store bought round faced wooden strips to cover the front and top plywood edges. Had to do some careful miter cuts in the process. The strips are glued + nailed (1/2 inch headless pin nails) into place
Decided that the rack should rest on a base. So used some scrap 19mm ply ripped into 1 inch width, mitered them, and used my corner clamps and glues+nails to prepare the base.
The base was screwed from the bottom up to the rack
After the first coat of primer - hardboard drinks a LOT of primer
After 2 coats of primer + sanding + first coat of brushed on paint (Asian Paints - Timber Brown - Satin finish)
After 2 coats of paint + sanding
After the final coat of paint sprayed on.
As it sits in the room right now


Comments
Post a Comment